

How to Create a Landing Page on WordPress: A Detailed Guide
Landing pages are awesome for turning your website visitors into possible customers and leads. When you create them the right way, they can bring more people to your website. Having a dynamic landing page with exciting content also makes your website really valuable. People will be interested if you arrange your landing page content in a captivating and attention-grabbing manner.
Creating a landing page for your website can be challenging if you have limited time and resources. To overcome this challenge, using a Content Management System (CMS) like WordPress comes in handy. It’s because WordPress offers some specialized plugins to make the process of creating a landing page on a WordPress-based website more effortless than ever.
This article will teach you a simple method to make a landing page with WordPress. So, without waiting any longer, let’s dive into the details.
Step-by-Step Guide on Creating a Landing Page on WordPress
To show you an easy way of creating a landing page on WordPress, we’ll be demonstrating a stepwise guide on creating a landing page for a WordPress-based website using a dedicated plugin named ‘SeedProd‘.
Step 1: Install and activate ‘SeedProd’
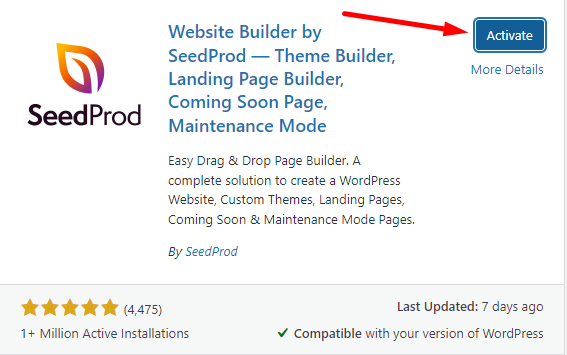
To create a landing page for WordPress, First, you need to install ‘SeedProd’ on your website. To do that, go to Plugins ➤ Add New. You will land on the WordPress plugin repository page. Next, write SeedProd in the Search Plugins box.

Once you have installed the plugin, click on Activate to make the plugin functional on your website.
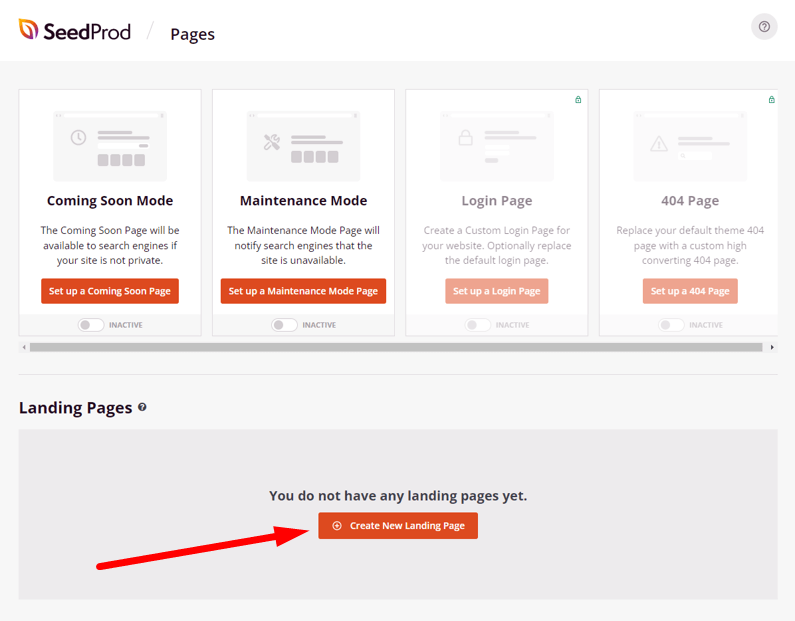
After activating the plugin, you are ready to create your first landing page on WordPress. To do this, go to your Dashboard Admin Menu Bar and click on SeedProd ➤Landing pages. Then, you will land on SeedProd’s different types of pages option. You can create different kinds of pages to serve various purposes from here.
For this tutorial, you need to create the landing page. That’s why click on Create New Landing Page button.
Step 2: Choose a free Landing page template
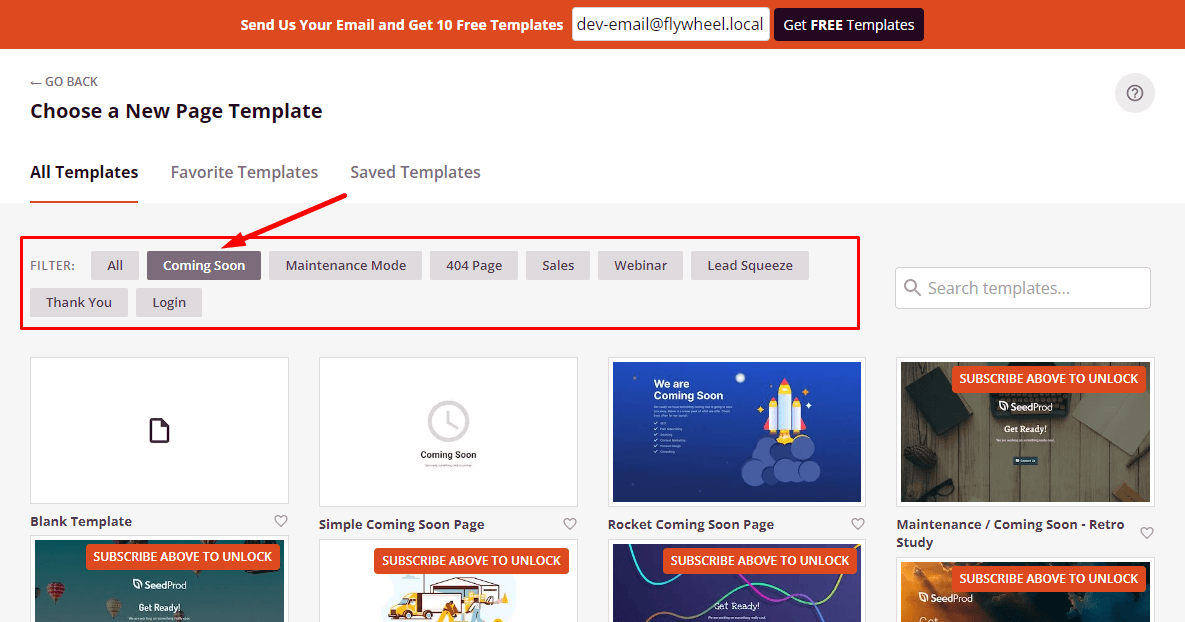
Now, you have landed on SeedProd’s free landing page templates page. Here, you will see SeedProd’s library of landing page templates. The templates are filtered into different categories on the top of the screen. We will create a landing page for this tutorial using Coming Soon templates.
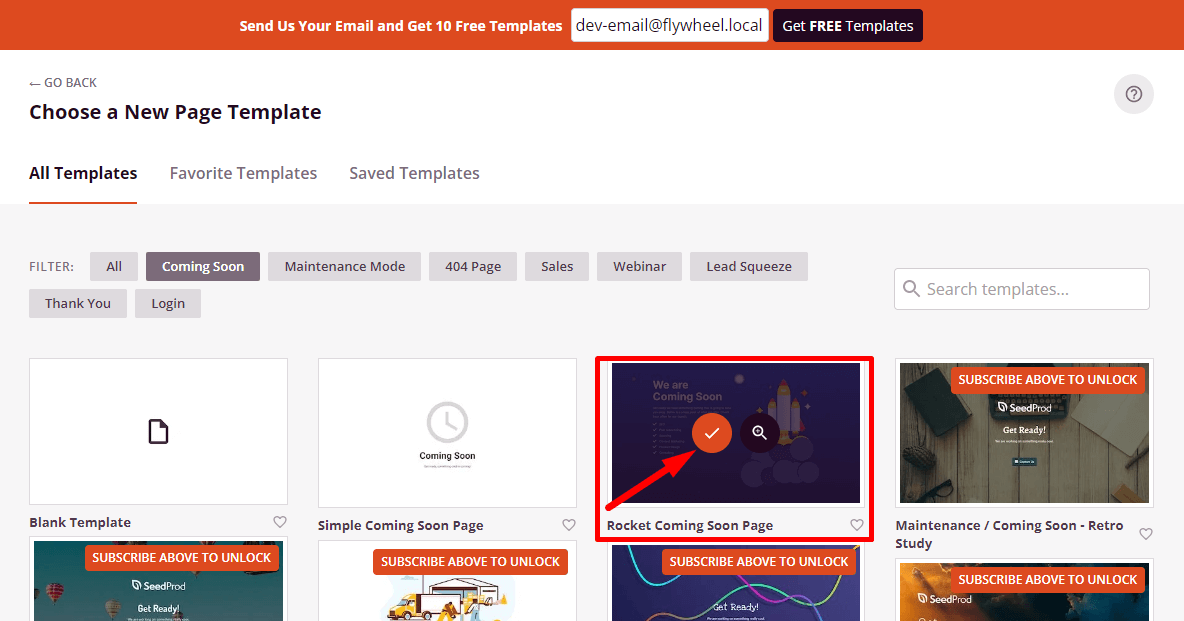
Now, you can see different templates on Coming Soon. Almost all the templates here are premium, or you need to subscribe to SeedProd’s email to get free templates to the WordPress landing page. But there is only one free template available here named Rocket Coming Soon Page. Now, hover over it and click on the Tick sign.
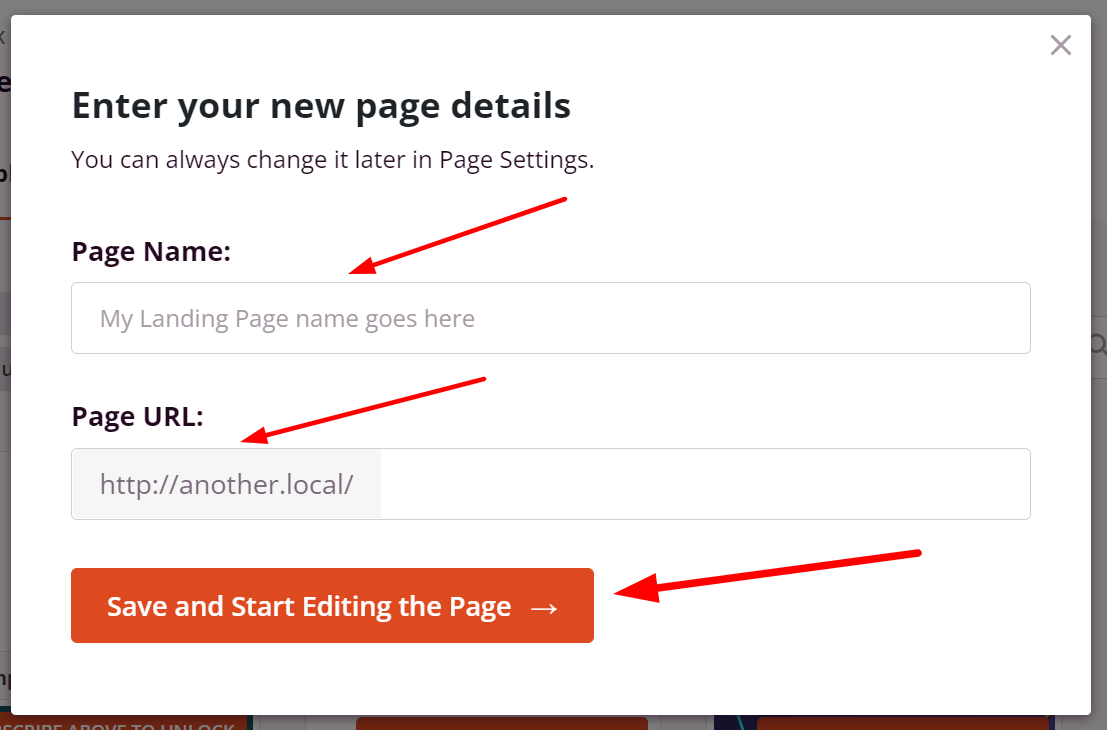
After choosing the template, a popup will appear where you’ll need to give your landing page a Page Name and Page URL. If necessary, you can change them later. Next, click the Save and Start Editing the Page button to edit your template in the drag-and-drop editor.
Step 3: Add content to the landing page
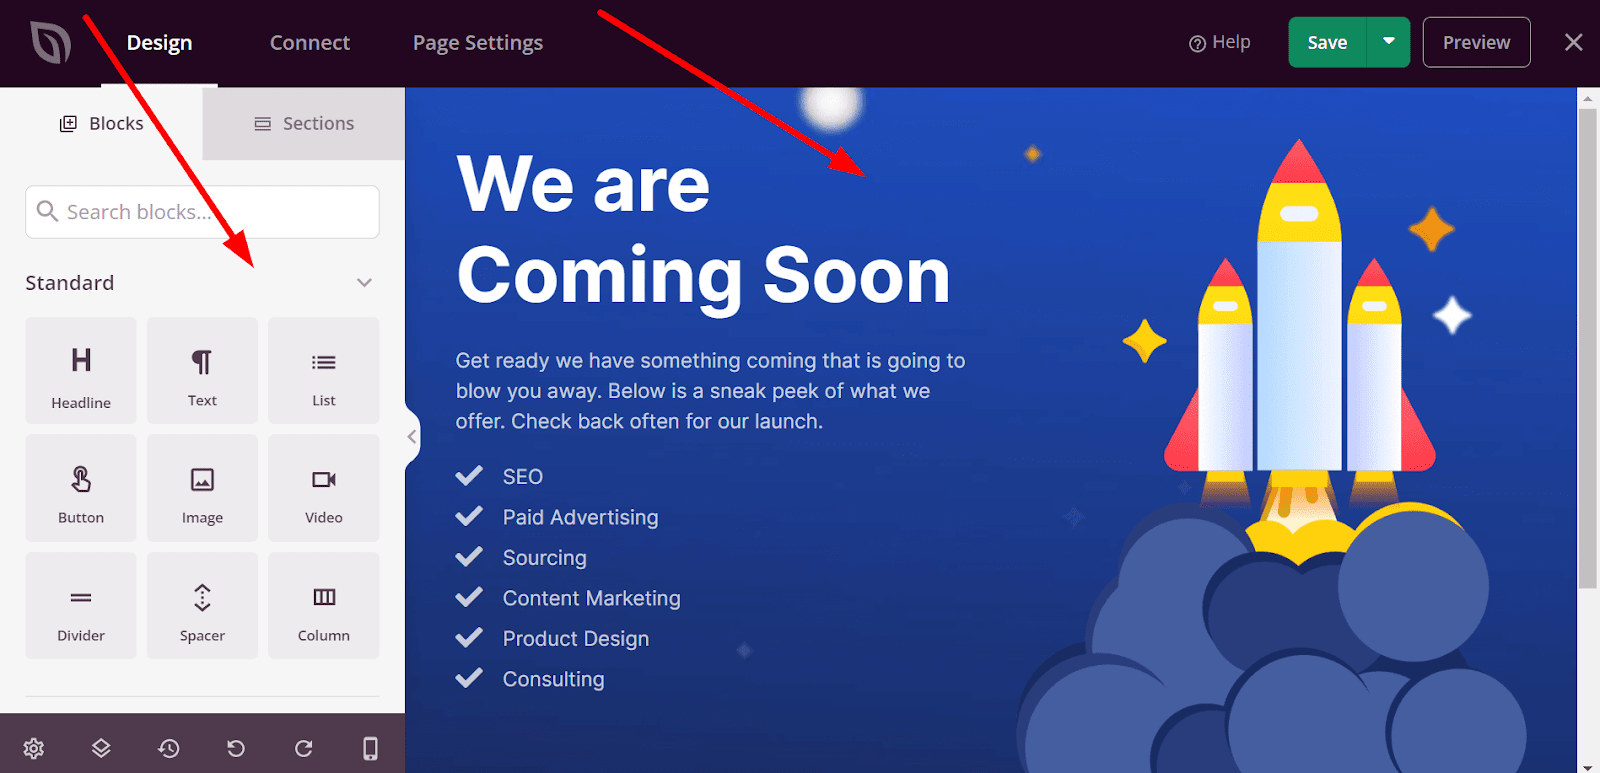
SeedProd’s visual builder comes with two different sections. Different types of Blocks and Sections are available on the left side to design your page, and on the right hand, you can see the Live Preview of your WordPress landing page.
If you want to add content, drag a block from the left panel and drop it onto the live preview Section, and you’ll be able to see a real-time change. You will get a wide range of landing page blocks in the Block section.
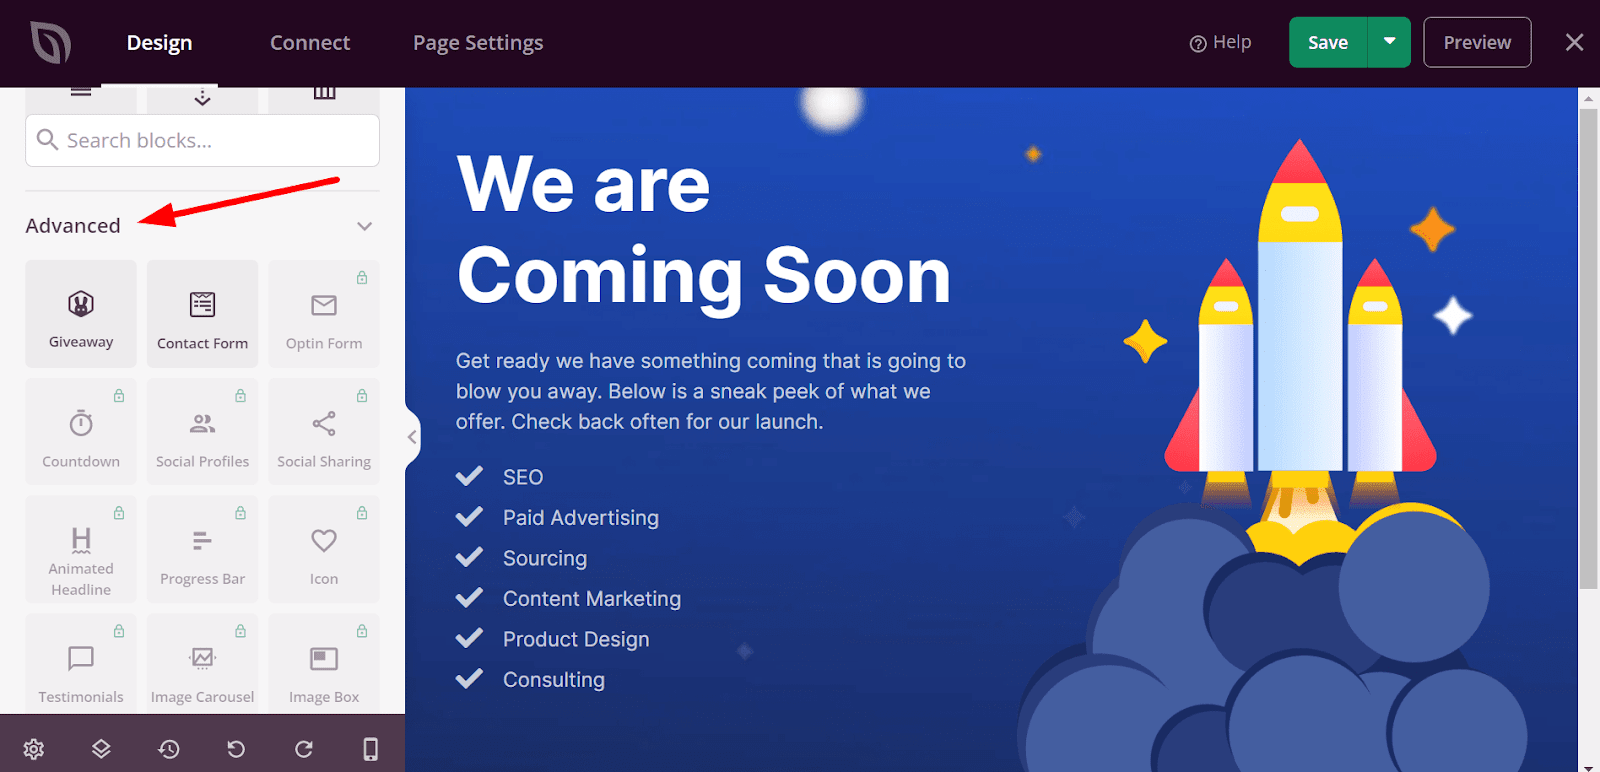
Besides, in the Advanced section, you will get two blocks named Giveaway and Contact Form for free, and by using these free blocks, you will be able to show both RafflePress Giveaways and WPForms contact forms entirely free of cost on your landing page.
Now, you can add your unique content just by clicking any block on your live preview. After clicking any content on the live preview, you will see a settings Panel on the left side, and from here, you can replace the default content with your content.
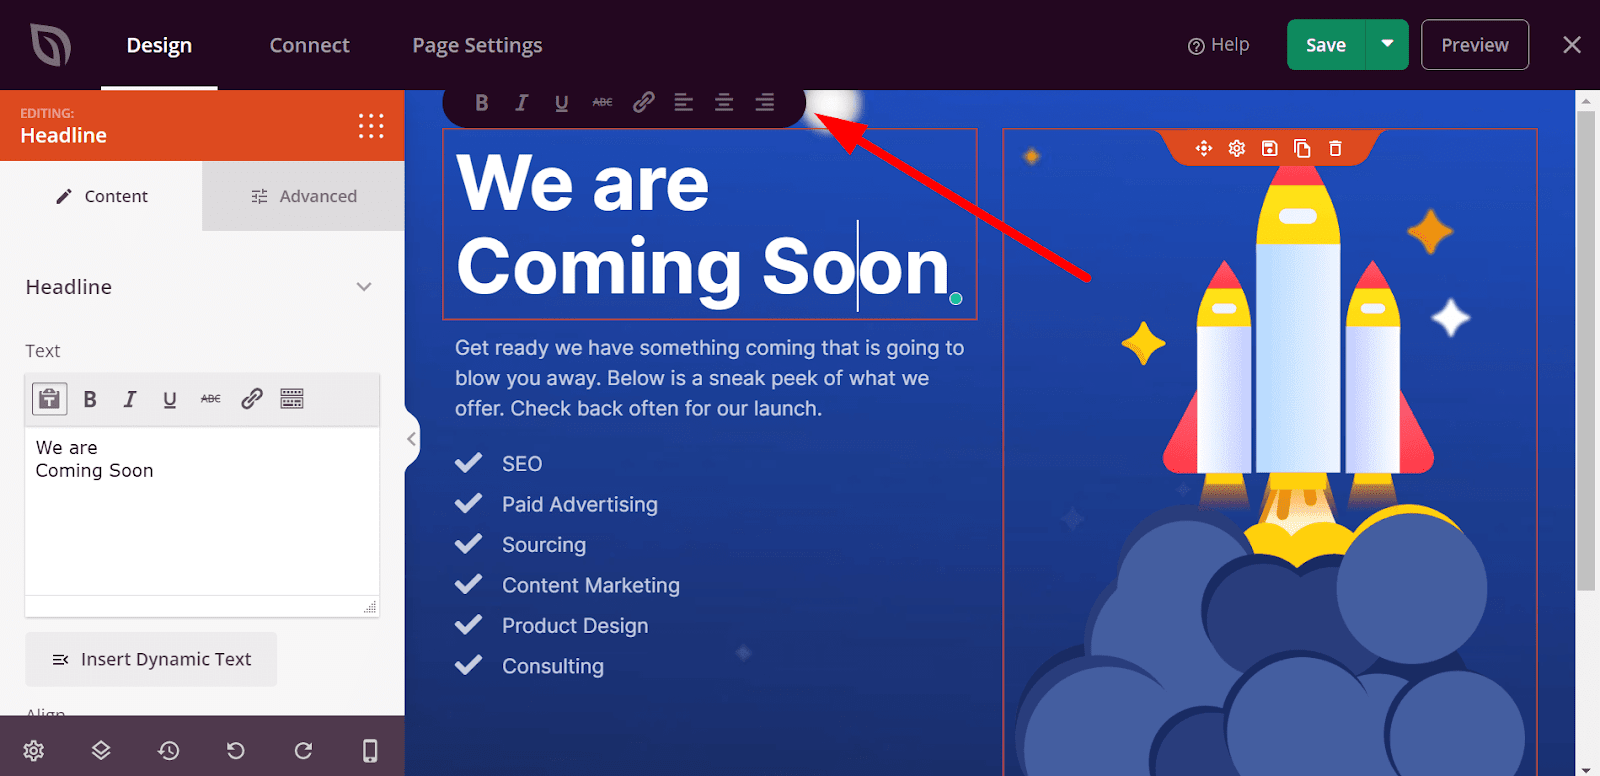
In the following part, you can see the default Heading part named ‘We are Coming Soon’, and ultimately, you can replace this with your content.
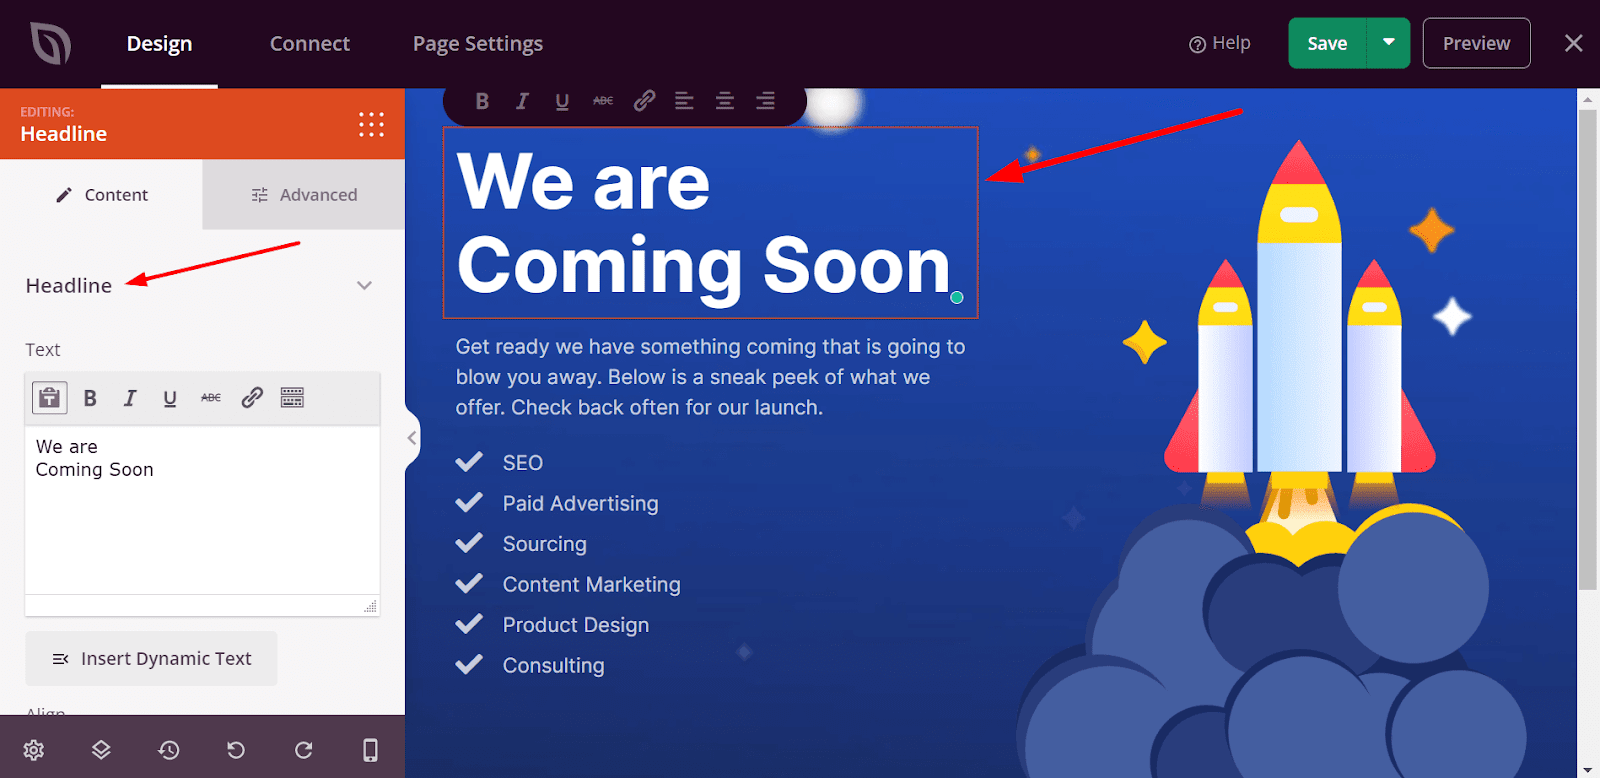
Moreover, you can edit the content directly on preview with SeedProd’s Inline Text Edit feature.
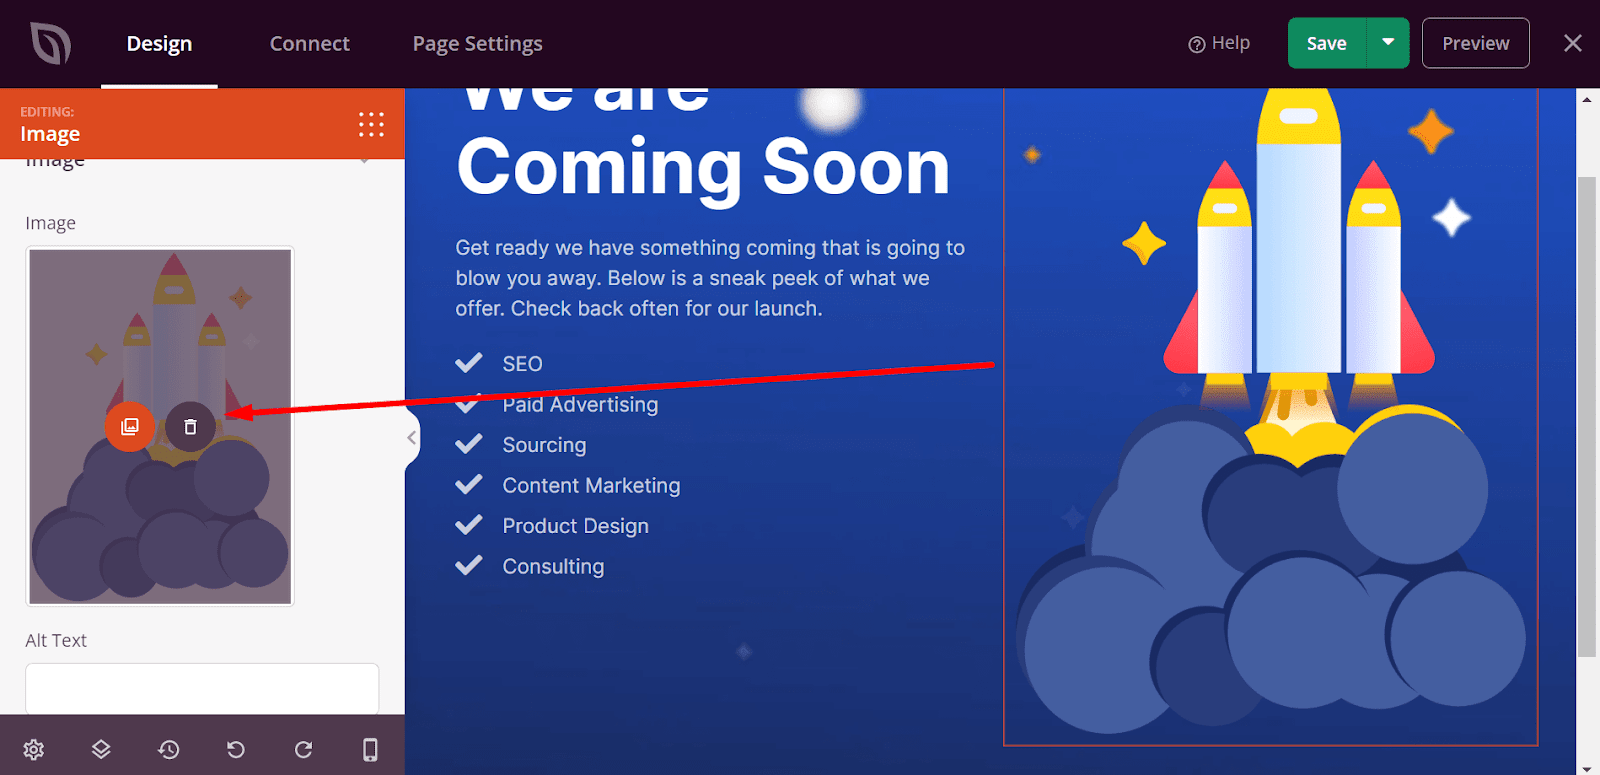
You can effortlessly replace default images by clicking on any image in the live preview section and clicking the Trash icon in the Settings panel on the left side.
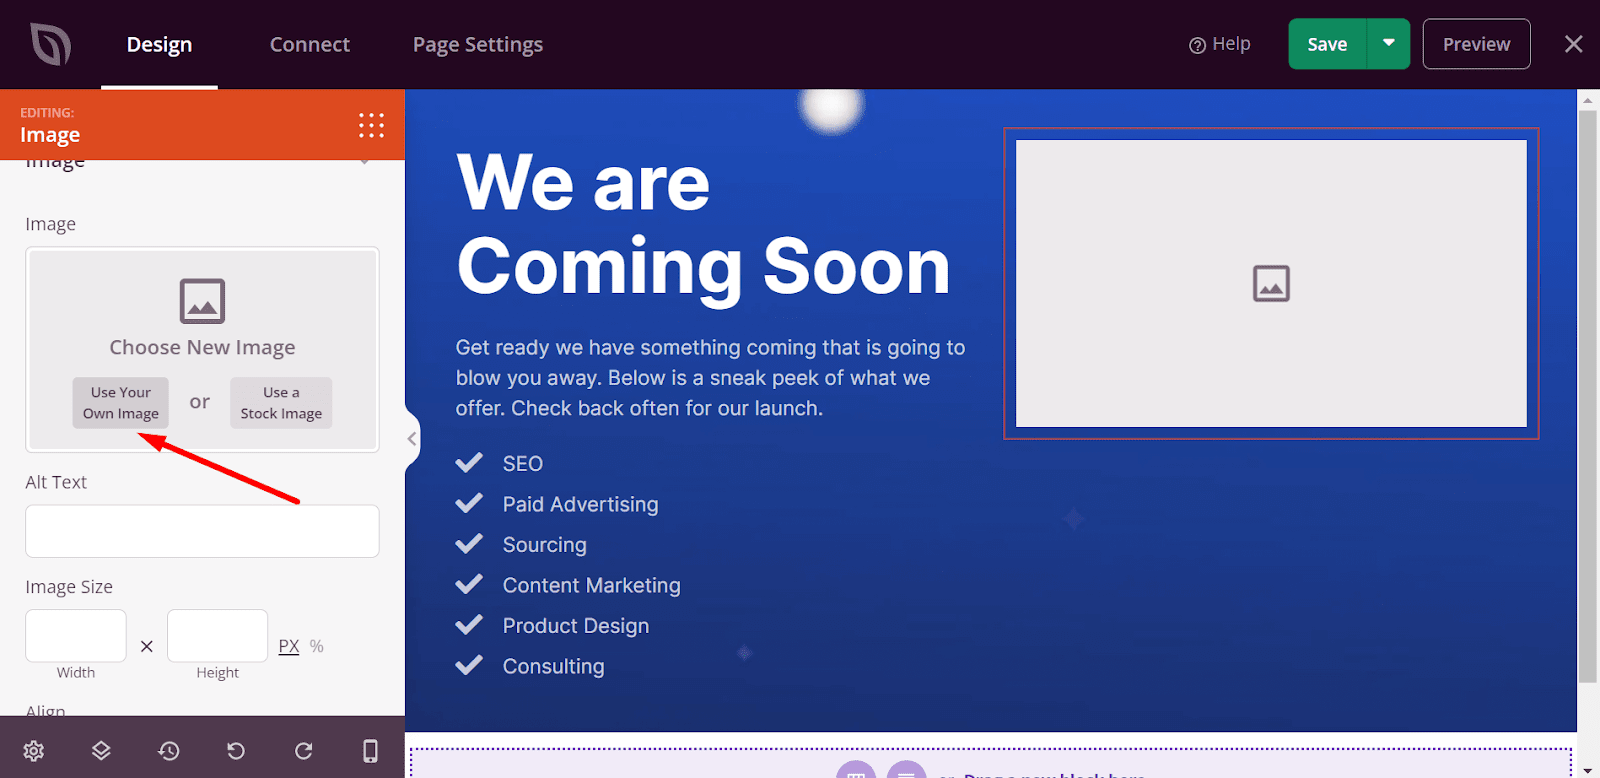
Next, you can upload an image from your computer or WordPress media library by clicking on Use Your Own Image button.
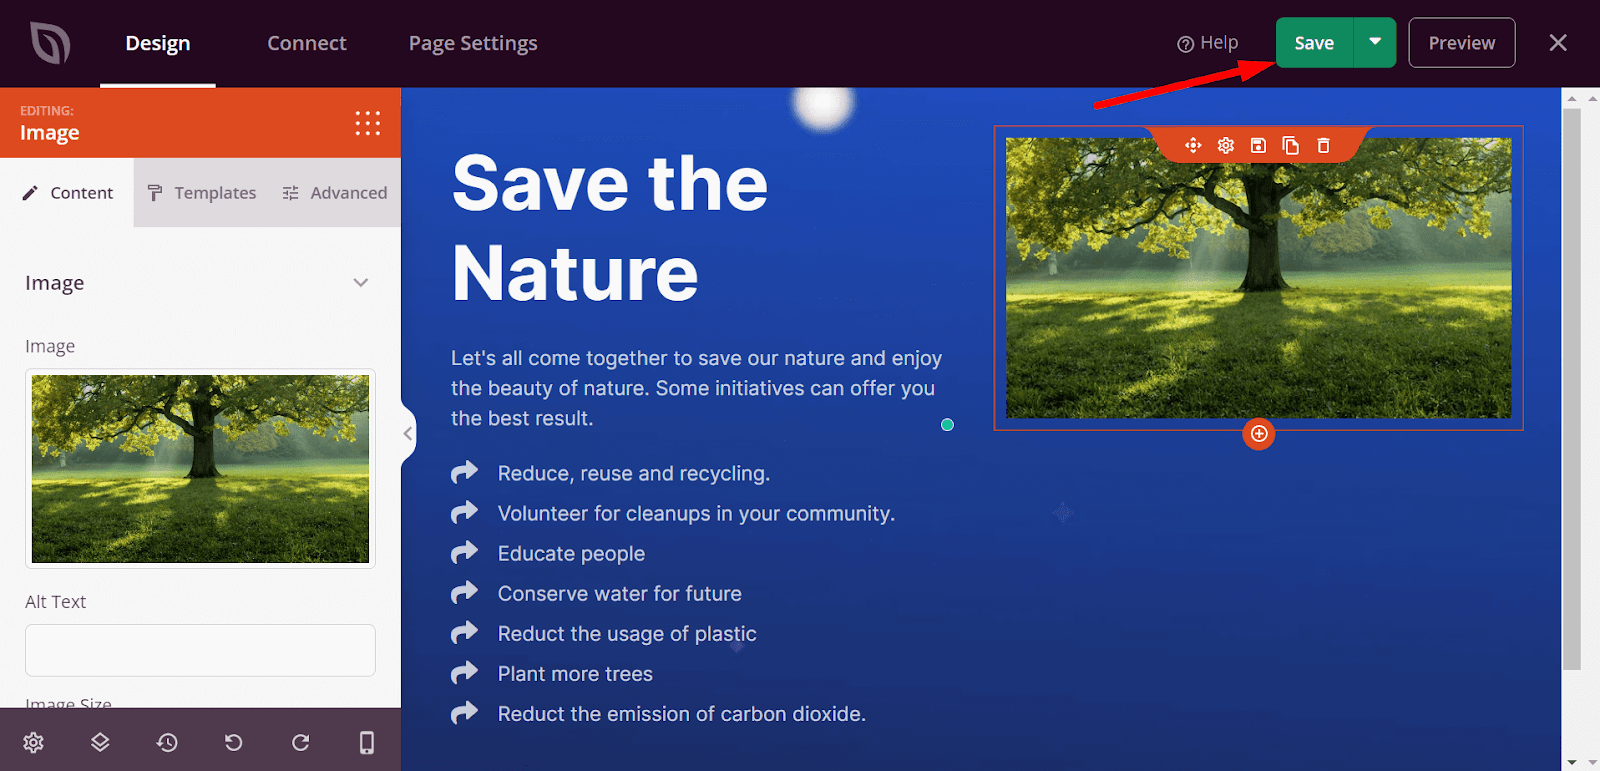
You can add as much content as possible to make your landing page on WordPress look more impressive than before. After adding content, click on the Save button in the top right corner of your screen.
Step 4: Customize the landing page styles
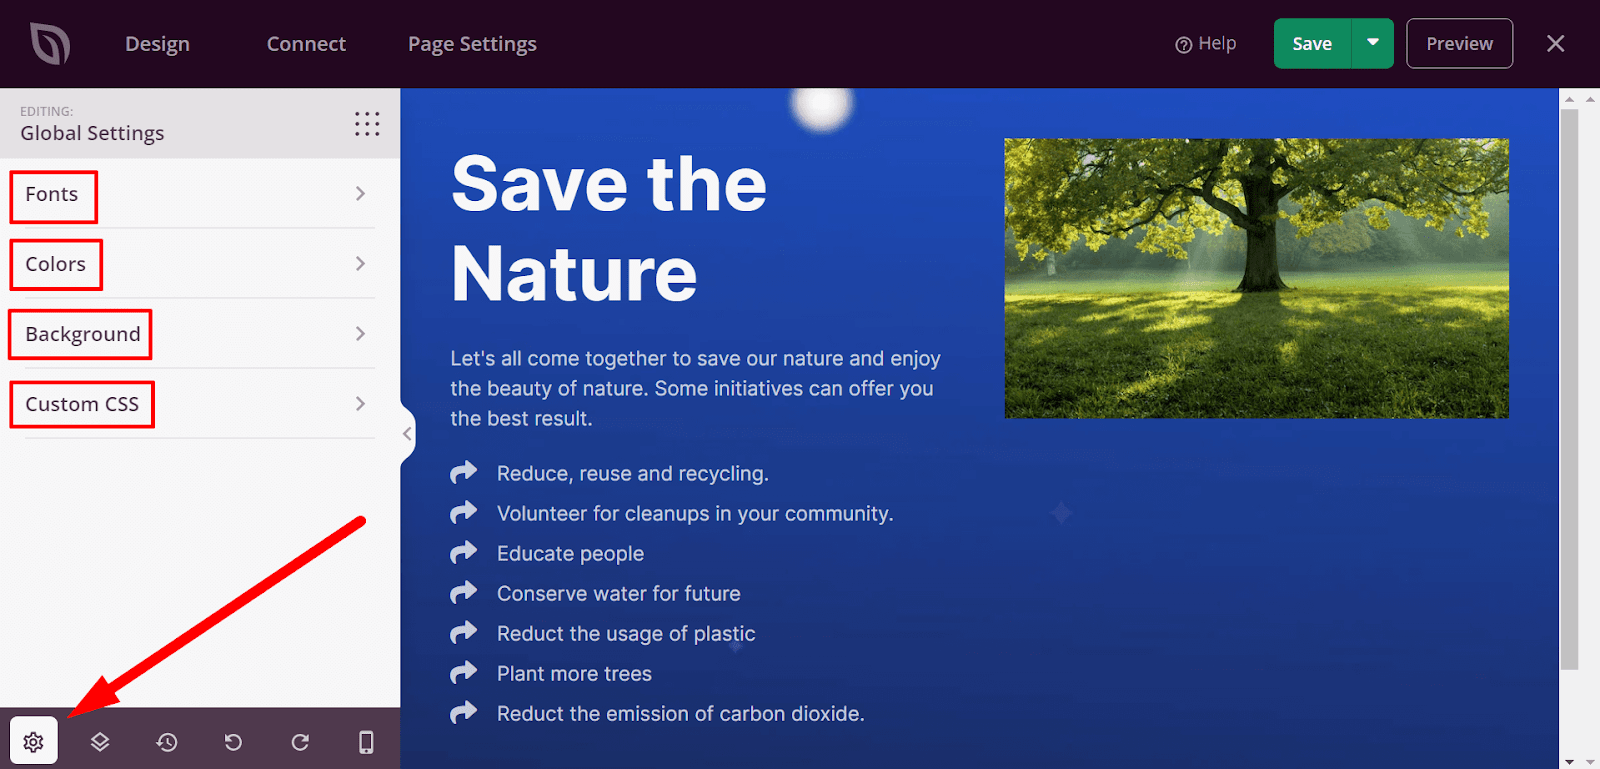
You have added content to your landing page. You can customize the landing page to make the styling consistent with your brand. Click on the Gear Icon in the bottom-left corner to view the Global Settings. Using this setting: you can customize your landing page:
- Fonts
- Colors
- Background
- Custom CSS
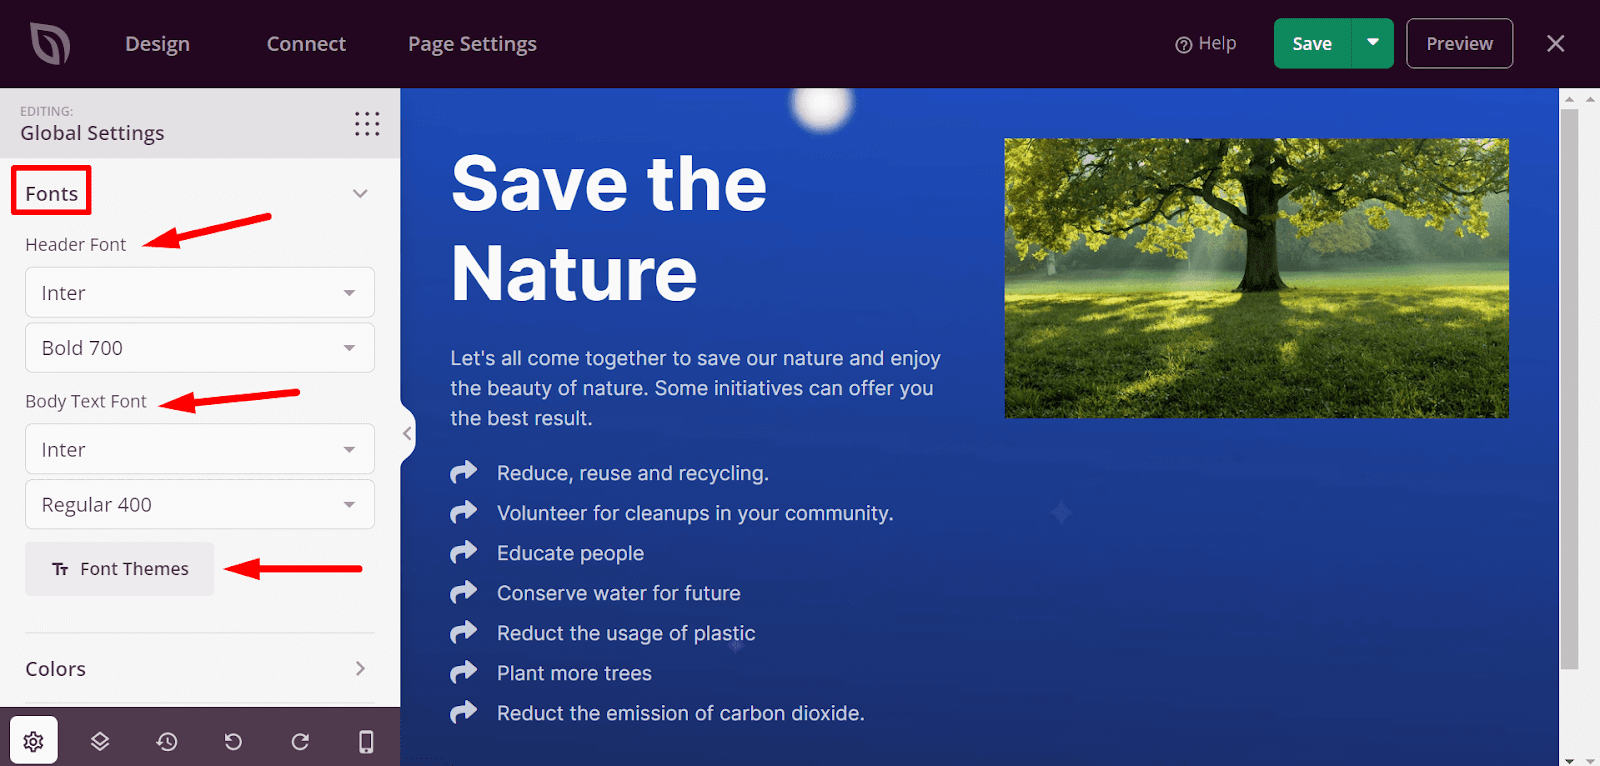
First, let’s take a look at the Fonts Settings. You can perform different customization on Header Font and Body Text Font. You can choose different themes from Font Themes though this facility is only available for SeedProd pro users.
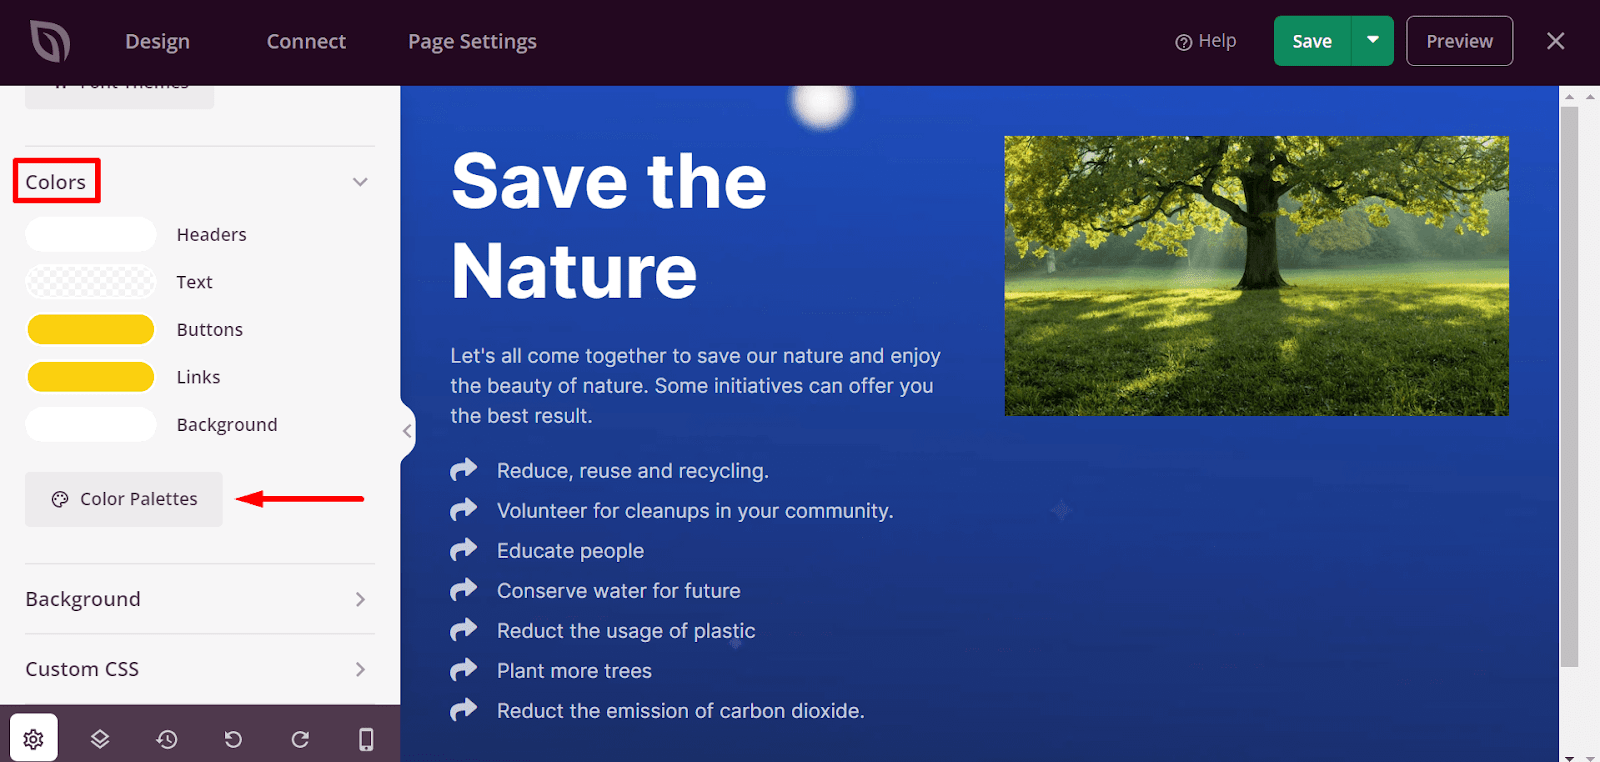
Next, in the Colors setting, you can change the header, text, buttons, links, and background color. The Color Palettes option is available in the SeedProd pro version.
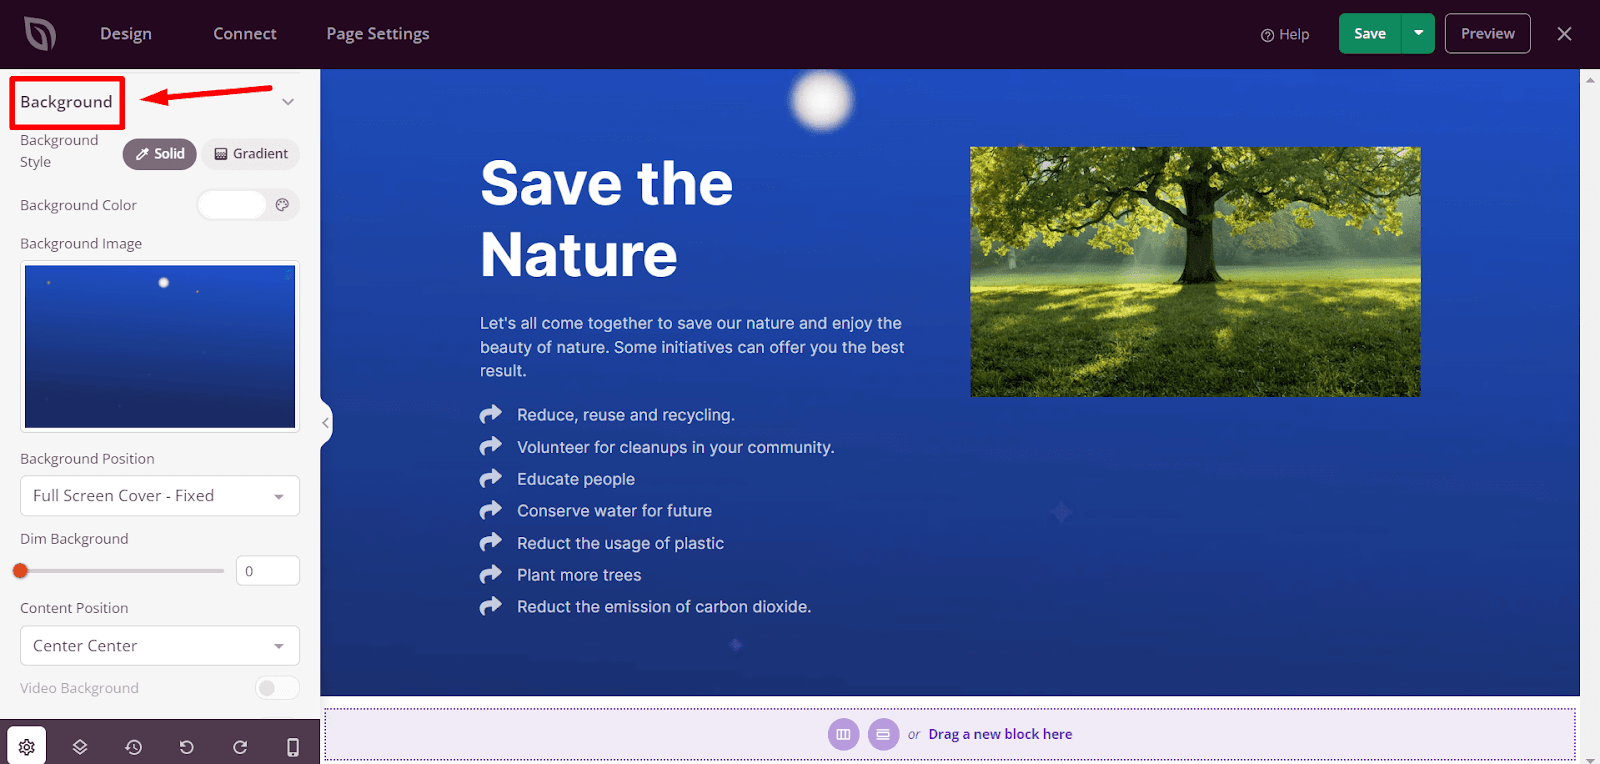
From the Background area, it’s effortless to change the background color, style, image, and content position.
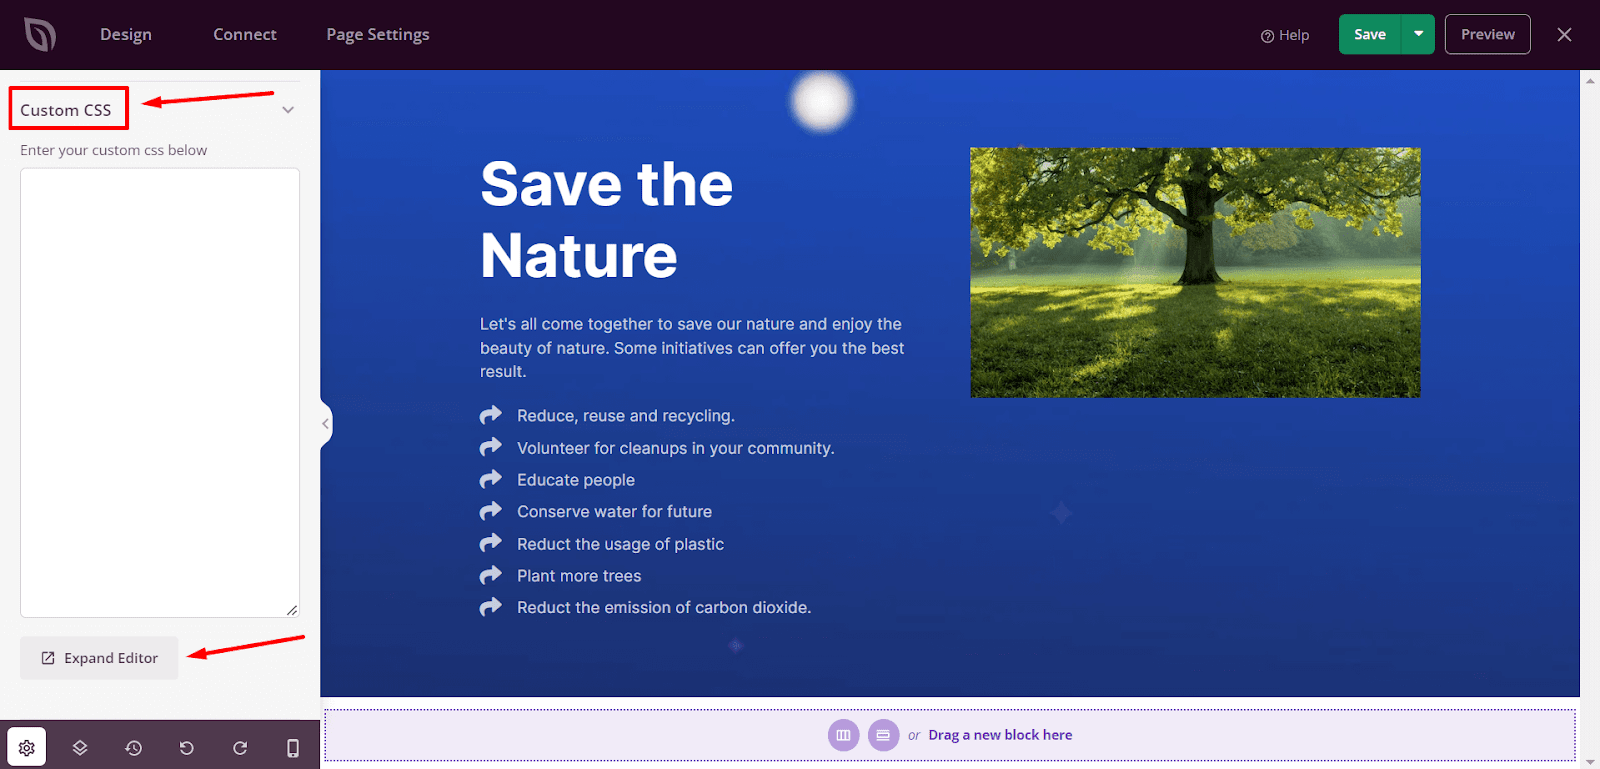
With Custom CSS, you can customize the CSS code of your landing page using a CSS Editor. If necessary, you can expand the CSS Editor by clicking on the Expand Editor button.
Once you are happy with the design of your landing page, click on the Green Save Button to save the recent changes.

Step 5: Check if your landing page is responsive
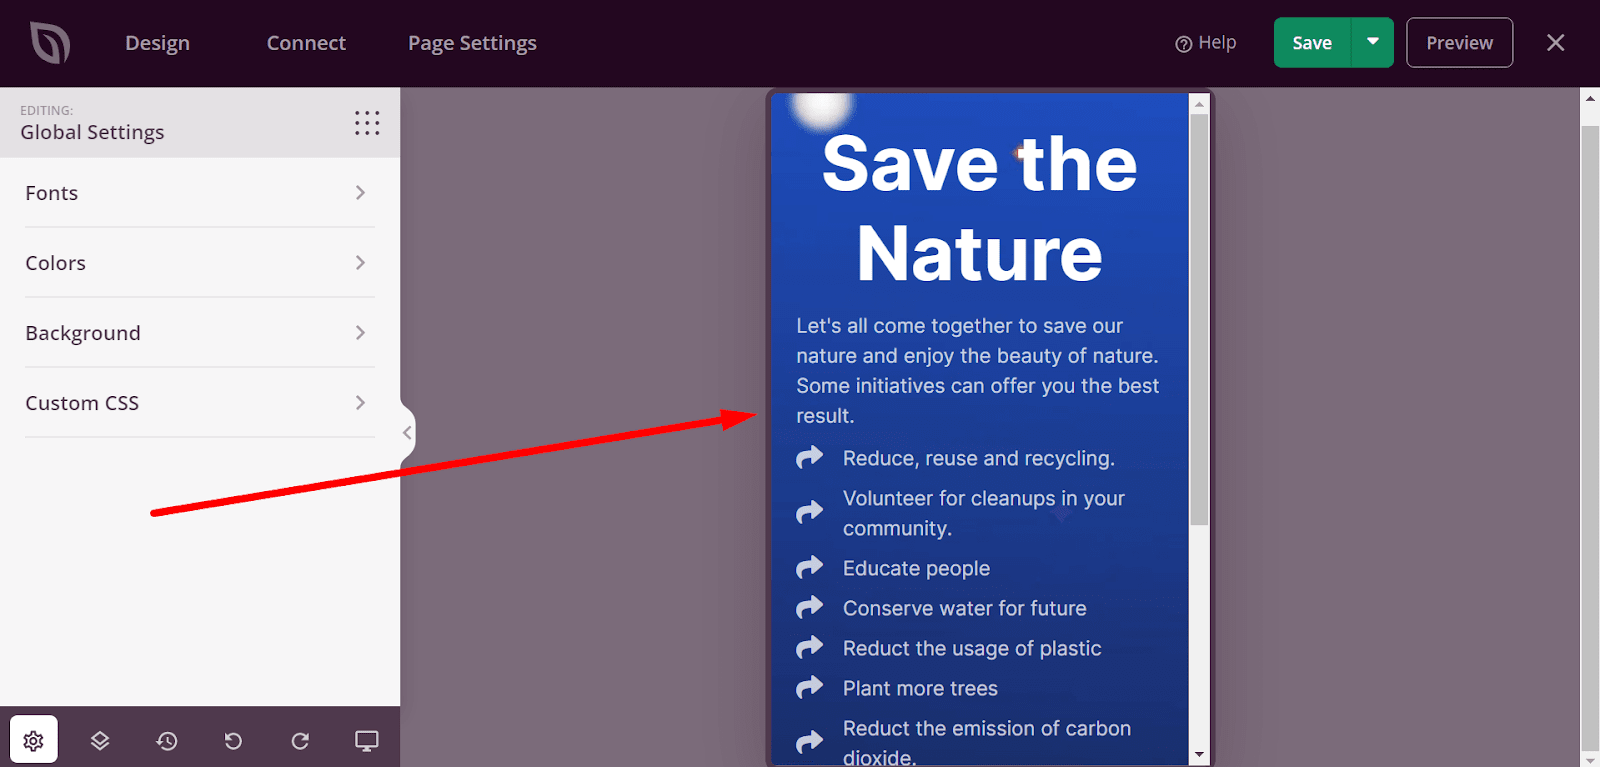
You can effortlessly check if your landing page is mobile responsive. To do this, click on the Mobile Preview Icon at the bottom of your landing page.

After clicking the Mobile Phone Icon, you will see the mobile phone preview of your landing page.
Step 6: Configure the landing page settings
Once you confirm that your landing page for WordPress works perfectly and it’s mobile phone responsive, you will need to configure a few settings options.
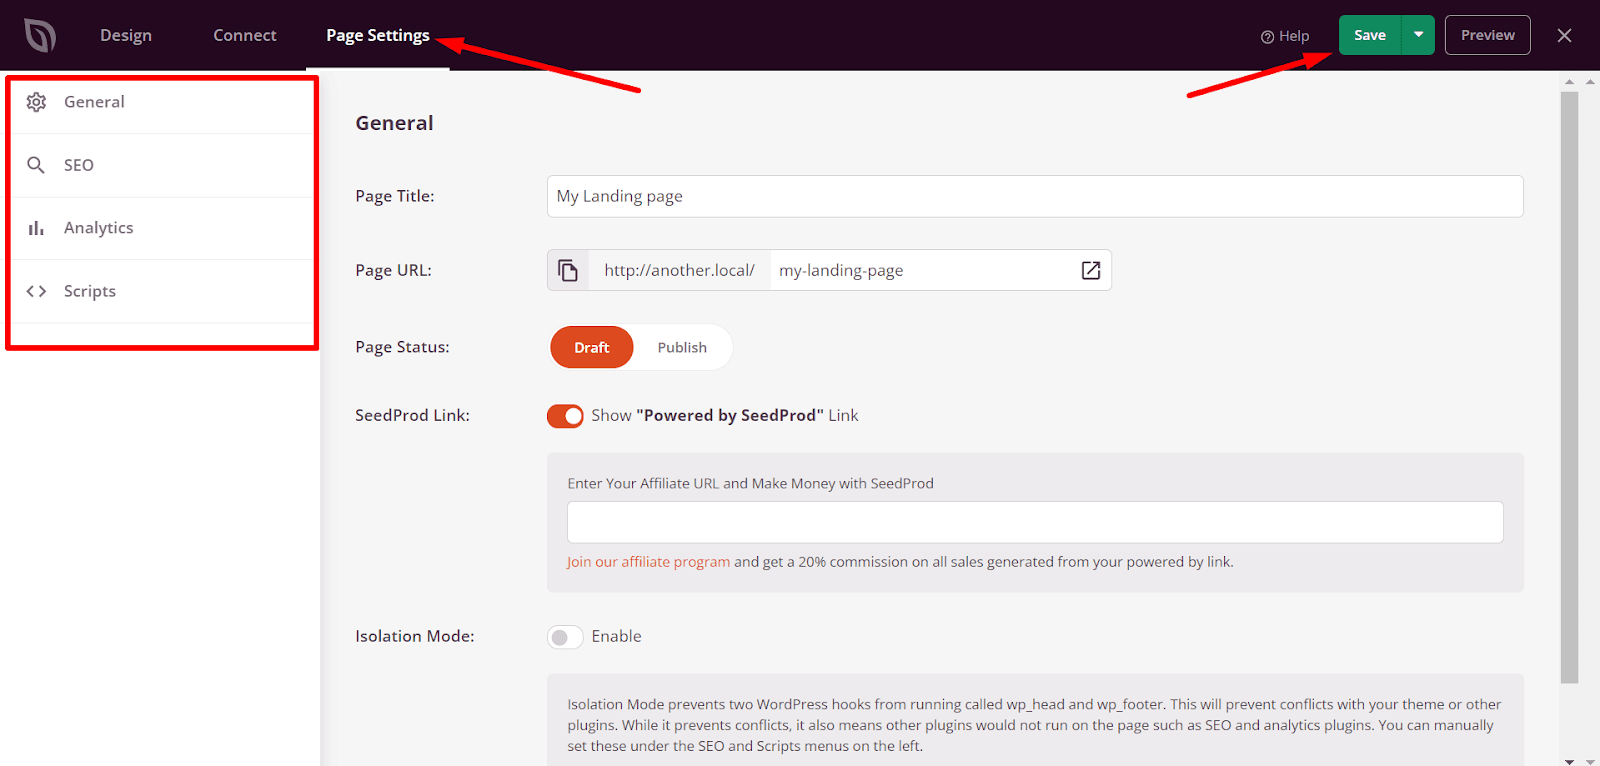
To do this, click on the Page Settings tab at the top of your landing page screen, and you will land on different page settings, including General, SEO, Analytics, and Scripts. Once you are done editing the page settings, don’t forget to click on the Save button.
Step 7: Publish the landing page
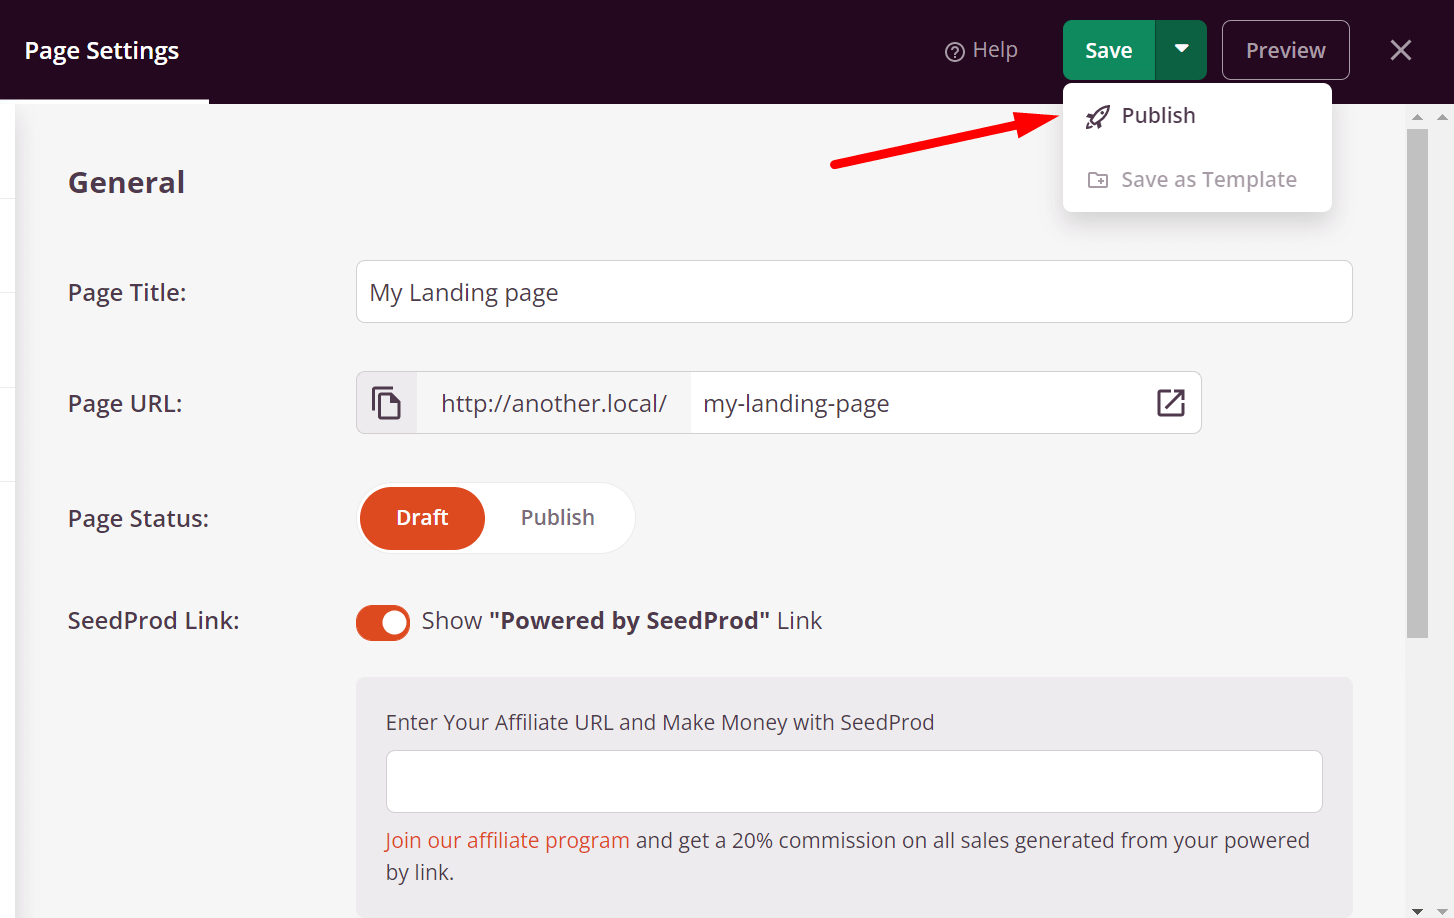
So, you have finished all the customizations for your WordPress landing page. Now, it’s ready to be published on your website. For this, click on the Down Arrow beside the green Save button at the top right corner of your screen and hit on Publish.
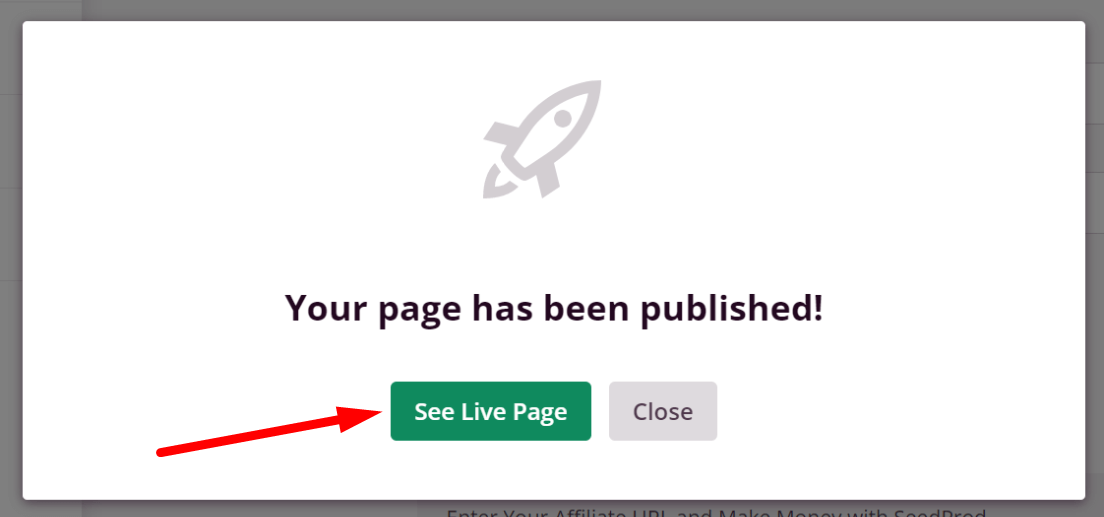
Next, a popup containing the message Your page has been published will appear. You can see your newly created landing page live by clicking the See Live Page button.
Your newly created landing page on ‘Save the Nature’ has been published.

Rounding Off
If you make a landing page for your website the right way, it will make users happy and help your website sell more. So, you should figure out how to make a really good landing page for your website
We hope this article helped you understand how to easily make a WordPress landing page with a plugin. If you have any questions about this article, please don’t hesitate to ask in the comments.
If you liked this post, don’t forget to subscribe to our blog so that we can notify you once any post is published. Finally, you can also follow wpWax on Facebook, Twitter, and LinkedIn for more exciting news, offers, and product updates.

Abdullah Al - Harun
Abdullah Al Harun is a technical content writer at wpWax and a digital marketing enthusiast. Apart from tech, he enjoys reading books on different aspects of communication, journalism, science, and arts. On his time off, you will find him playing cricket with his teammates.


Leave a Reply
You must be logged in to post a comment.